Client Alias
The Client Alias feature maps client name variations from carrier statements to your existing Client records. When different carriers report the same client using slightly different names (such as "Widgets Inc" vs. "Widgets Incorporated"), an alias tells the system to treat them as the same client — preventing duplicate records.
💡 Why Use This
Use Client Alias when:
- A carrier uses a different name format — The name on the statement doesn't match your existing Client record, causing duplicate creation during import.
- Preventing duplicate client records — Avoid having multiple database entries for the same client that should be one record.
- Standardizing data across carriers — Map naming variations from different carriers back to one master Client profile.
🗺️ How to Access
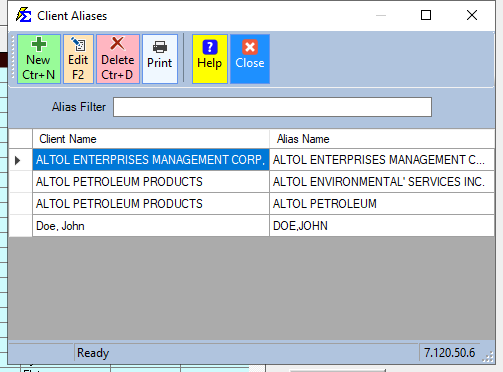
- Via Tools Menu — Go to Tools → Client Alias to manage aliases globally.
- During Import — Right-click a client name in the Create Policies screen to create an alias on the fly.
Alias Rules
- Uniqueness — You cannot create an alias that matches an existing Client name, or a Client name that matches an existing alias.
- Multiple Aliases — A single master client can have an unlimited number of aliases linked to them.
- Automation — Once an alias is saved, the system automatically converts that name during all future imports.
Method 1: Creating Aliases via Tools Menu
Use this method when you know in advance that a carrier uses a specific naming convention.
- Navigate to Tools → Client Alias.
- Select the master client from the dropdown.
- Type the variation (alias) in the text box.
- Click Save.
Method 2: Creating Aliases During Import (Create Policies Screen)
This is the most common workflow. When importing a carrier statement, new clients appear highlighted in Green. If you recognize a green-highlighted client as one that already exists under a different name, create an alias to link them.
- In the Create Policies lower grid, find the client name from the carrier file (for example, "Jane R Doe").
- Right-click the name in the grid.
- Select the existing master client from the list (for example, "Doe, Jane").
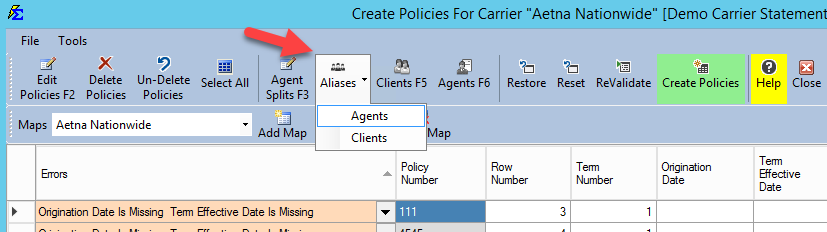

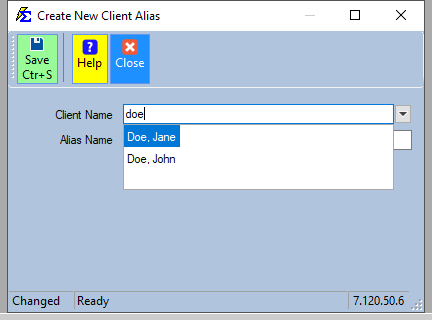
- Click Re-Validate. The row changes from Green to Yellow, confirming the alias was applied and the data is now mapped to the existing master client.

Visual Example
| Carrier Statement Name | System Master Name | Result |
|---|---|---|
| Widgets Incorporated | Widgets INC | Aliased — maps to Widgets INC |
| Jane R Doe | Doe, Jane | Aliased — maps to Doe, Jane |
| John L Doe | Doe, John | Aliased — maps to Doe, John |
🔧 Troubleshooting
I tried to create an alias but got an error that the name already exists. The name you are trying to use as an alias is already a master Client name elsewhere in the system. Every name must be unique across both master records and aliases. Check whether the client already exists under that exact name.
A client row is still highlighted green after I created the alias. Click Re-Validate after creating the alias. The system needs to re-check the row before changing the highlight from Green (new client) to Yellow (matched to existing).
The alias was set up correctly but the same client is still appearing as new in future imports. Confirm the alias was saved correctly in Tools → Client Alias. Open the alias screen, select the master client, and verify the alias name is listed. If not, re-create and save it.
🔗 Related Topics
- Agent Alias — Map agent name variations from carrier statements.
- Create Policies — The import workflow where aliases are frequently created.
- Mapping Data — Configure how client names are read from carrier files.
- Duplicate Policy Numbers — Related feature often used alongside client alias matching.
Need help? Contact support@commission-tracker.com