Contacts
The Contacts window is where you view and edit all of the contact people for an Agent, Client, or Carrier — names, job titles, addresses, phone numbers, and email addresses, all in one place.
💡 Why Use This
- Keep every contact in one list — See all of a record's contact people at a glance, with the primary contact always listed first.
- Store complete details — Each contact can hold two addresses, four phone numbers, and two email addresses.
- Mark who matters most — Flag one contact as the Primary contact; reports and screens that show a single contact use the primary.
🗺️ How to Access
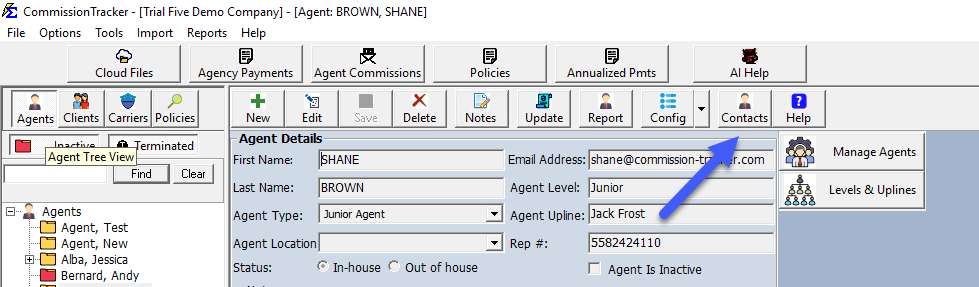
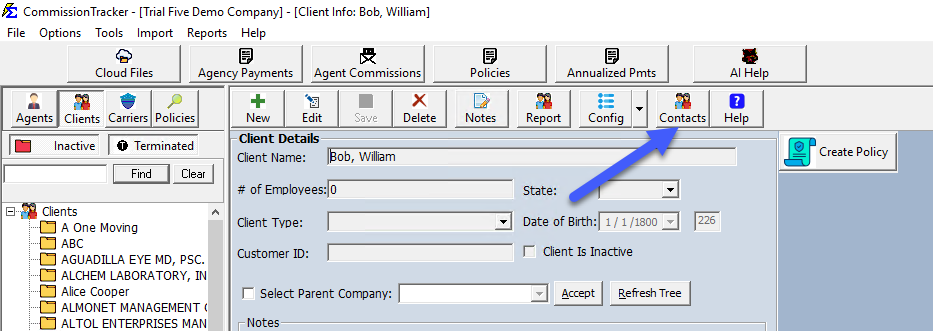
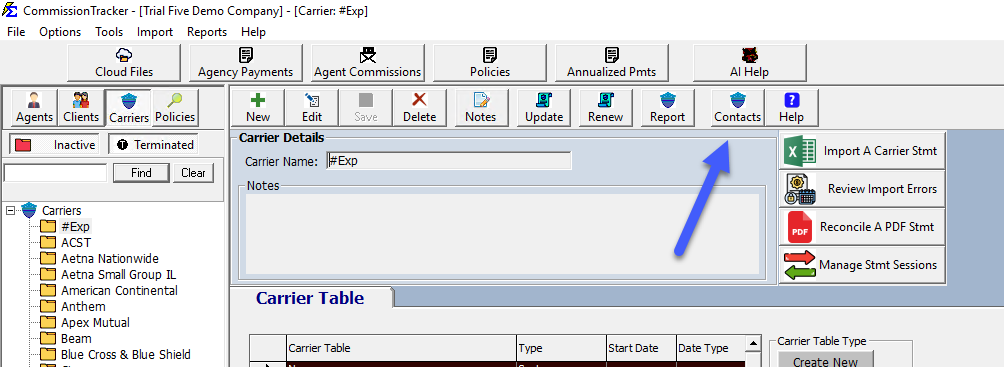
Click Agents, Clients, or Carriers at the top-left of the Policy List screen, select the record, and click Contacts on its toolbar.
Agent screen:
Client screen:
Carrier screen:
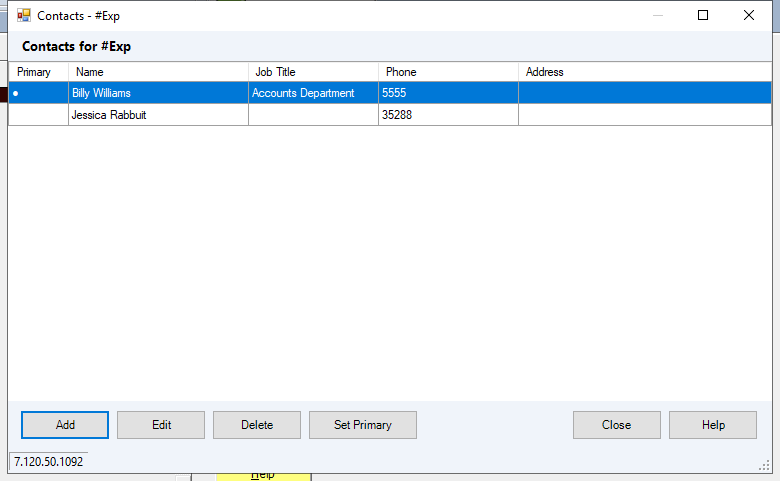
The Contact List
All contacts for the record appear in a single editable list. The primary contact is flagged and sorted to the top, and the list includes an address column so you can identify contacts at a glance.
Key Fields
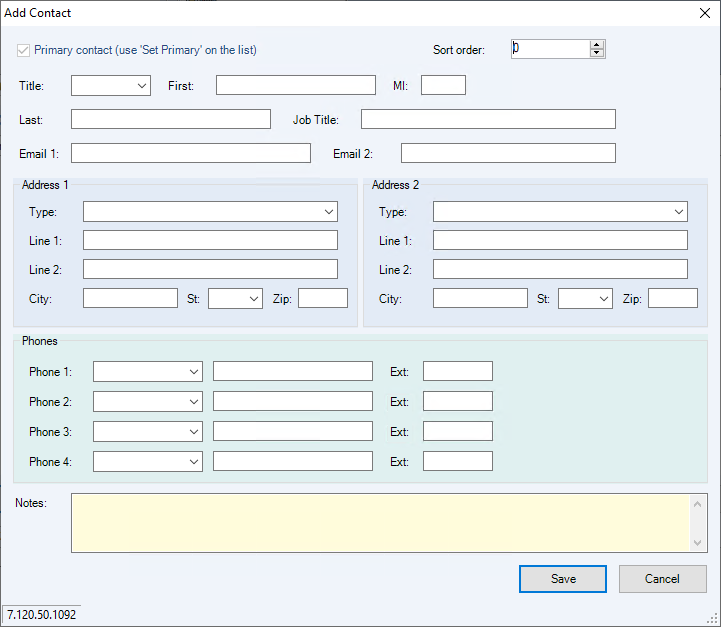
- Name — Title, First Name, Middle Initial, and Last Name.
- Job Title — The contact's role (e.g., Office Manager, Agent).
- Addresses — Up to two addresses per contact, each with its own address type. The State field offers a dropdown but also accepts typed entries for Canadian provinces, Puerto Rico, and other regions.
- Phone Numbers — Up to four numbers per contact, each with its own type and optional extension.
- Emails — Two email address fields.
- Notes — Free-form notes for the contact.
- Sort order — Controls where the contact appears in the list. The primary contact is always first; the other contacts follow in Sort order from lowest to highest. Contacts with no sort order (or
0) come last, oldest first.
Common Tasks
- Add a contact — Create a new contact and fill in the fields you need; only a name is typically entered, everything else is optional.
- Edit a contact — All contacts in the list are editable, not just the primary.
- Set the primary contact — Select a contact and use Set Primary. Only one contact per record can be primary.
- Delete a contact — Removes that contact person from the record. If you delete the primary contact, the next contact in the list (by Sort order, then oldest) automatically becomes the primary.
Press Esc at any time to close the window.
Where Did My Old Contacts Go?
Nothing was lost. When Commission Tracker moved contact editing to this window, all existing contacts were migrated automatically — every name, address, phone number, and email. If a contact previously had more than two addresses or more than four phone numbers, the extra entries were preserved in that contact's Notes field.
🔧 Troubleshooting
A contact row shows a blank name. Some older records were saved with address or phone information but no first/last name. The contact is intact — open it and add a name, or leave it as-is.
No contact is marked primary. Older records sometimes never had a primary flagged. Everything still works; use Set Primary on the appropriate contact when convenient.
🔗 Related Topics
- Create New Agent — Initial agent profile setup.
- Create New Client — Initial client profile setup.
- Create New Carrier — Initial carrier profile setup.
Need help? Contact support@commission-tracker.com